Can You Make Hummus in a Blender?
Smooth, creamy, and loaded with flavor, hummus is one of the most popular Mediterranean spreads today. But can you achieve that perfect texture and taste by making hummus in a blender? With blenders now being a staple appliance in most kitchens, this method may seem appealing for its simplicity and convenience. However, blenders can often incorporate too much air into hummus, making it lighter rather than rich and dense. This introduction explores whether using a blender lives up to the gold standard of hummus made the traditional way – with a mortar and pestle. We’ll compare techniques, ingredients, and tools to determine if blender-made hummus stands up or needs to catch up.
Executive Summary
Yes, you can make hummus in a blender! The key is to use a high-powered blender that can smoothly puree the chickpeas and tahini to the right creamy consistency. While some claim hand-mixed hummus is superior, a good blender like a Vitamix or Blendtec can replicate that texture. Add chickpeas, tahini, olive oil, lemon juice, garlic, and seasonings to the blender. Blend on high until completely smooth, stopping to scrape down the sides as needed. The result will be a rich, ultra-smooth hummus perfect for dipping pita bread or veggies. With the right blending technique, homemade hummus from your blender can rival any hummus from a store or restaurant!

Ingredients
Making delicious hummus in a blender only requires a handful of simple ingredients. With the right combinations of chickpeas, tahini, olive oil, seasonings, and mix-ins, you can produce smooth and flavorful hummus, rivaling any store-bought version.
The core hummus ingredients that every blender recipe needs are chickpeas, tahini, lemon juice, garlic, olive oil, salt, and water. These basics are blended into an ultra-smooth, protein-packed dip or spread with the classic earthy hummus flavor. From there, you can customize your blender hummus by adding various spices, herbs, and other mix-ins to suit your taste. The options are endless!
Essential Hummus Ingredients
- Chickpeas – The star ingredient! Canned or soaked dried chickpeas. Yields about 3 cups cooked.
- Tahini – Sesame seed paste. Provides creaminess and nutty flavor. Use 2-3 tablespoons.
- Lemon Juice – Freshly squeezed juice from 1 lemon. Adds bright acidity.
- Garlic – 2-3 cloves, minced or crushed. Provides the quintessential hummus flavor.
- Extra Virgin Olive Oil – 3-4 tablespoons. For richness and smooth texture.
- Water – 2-3 tablespoons or more as needed. Thins hummus to perfect consistency.
- Salt – 1 teaspoon or to taste. Kosher or sea salt.
Optional Hummus Add-Ins
Spices like cumin, paprika, cayenne, etc.
- Add depth of flavor and customize taste.
Herbs such as parsley, cilantro, basil, dill.
- Fresh or dried. Boost flavor and color.
Nuts or seeds – pine nuts, walnuts, sunflower seeds.
- Toasted nuts add crunch and nutty richness.
Roasted red peppers
- Puree in for sweetness, smokiness, and color.
Olives – kalamata, green, etc.
- Chopped. Provides brininess and fruitiness.
Chipotles in adobo
- For smoky spiciness. Use sparingly.
Lemon zest
- Bright, lemony punch. Grated fresh.
Honey or agave
- A touch of sweetness to balance the flavor.
Olive oil/other oil infusions
- Soak spices in oil, then blend in.
Avocado
- For extra creaminess and richness.
In short, the core ingredients like chickpeas and tahini make the basic hummus. From there, you can play with flavors by adding herbs, spices, peppers, nuts, and more to put your own unique blender hummus twist. Try out flavor combos until you find your favorites!
Steps to Make Hummus in a Blender
With a few simple techniques and quality ingredients, you can blend up smooth, creamy hummus in your home blender. Follow these step-by-step instructions for guaranteed success.
Achieving the ideal rich, ultra-smooth hummus texture using a blender takes some know-how. With the right process and a bit of practice, your homemade blender hummus can rival any gourmet version. This guide outlines the key steps and best practices for blender success.
Start with Quality Ingredients
Great hummus starts with staple ingredients like chickpeas, tahini, olive oil, lemon, and seasonings. Use dried chickpeas soaked overnight or canned for the creamiest texture. Quality extra virgin olive oil and freshly squeezed lemon juice also provide flavor.
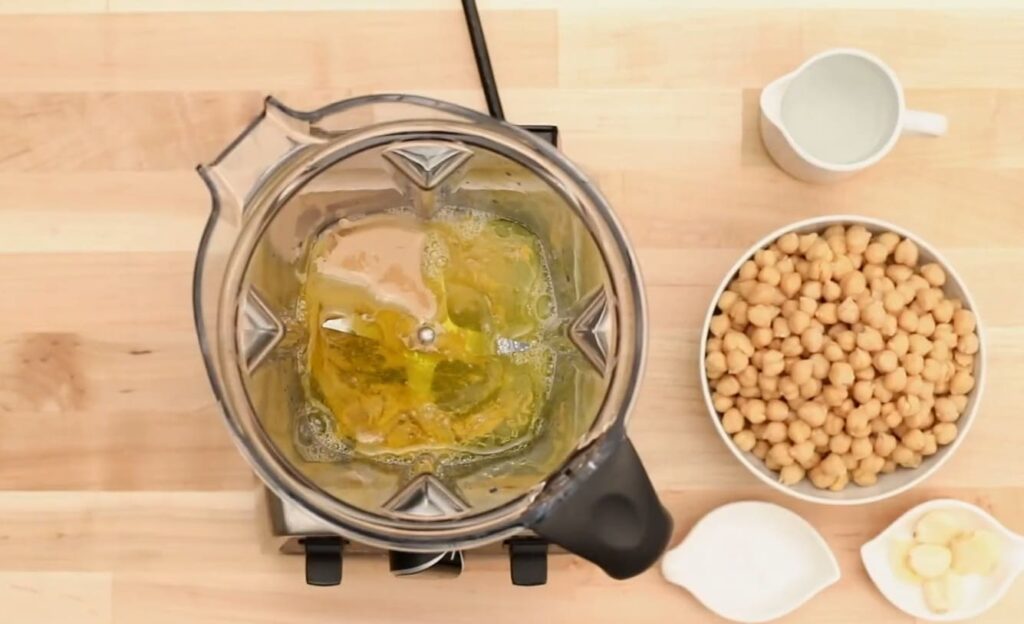
Combine All Core Ingredients in Blender
Place soaked, cooked, or canned chickpeas in the blender along with tahini, lemon juice, garlic, salt, and two tablespoons of water first. Blend on high until the contents are fully combined, about 30 seconds. This initial blending distributes the ingredients before adding the olive oil.
Slowly Drizzle in Olive Oil with a Blender. Running
With the blender continuing to run, slowly pour in the olive oil. Aim for 3-4 tablespoons to start. The oil will emulsify into the hummus for silkiness. Blend for another 30 seconds once it’s incorporated.
Blend in Short Bursts, Scrapping Down Often
Now blend the hummus in short pulses, stopping to scrape down the sides every 30-60 seconds. This prevents chickpea paste from climbing up the sides. Scrape diligently to ensure an even texture.
Adjust Consistency
Add small amounts of water or oil to achieve the desired creaminess. Hummus should be smooth and thick enough to mound on a plate. Use the tamper to force chunks down into the blades.
Blend in Flavorings and Seasonings
Once the hummus has the perfect pureed consistency, you can blend in any extras like roasted red peppers, herbs, or spices to taste.
Transfer to an Airtight Container
Spoon the finished hummus into a storage container, smoothing the top with a spatula. Cover and refrigerate within 1-2 hours. Enjoy this creamy homemade blender hummus within five days.
You can easily achieve restaurant-worthy hummus texture and flavor from your home blender with the proper techniques and recipes. Be patient, get the ratios right, and blend mindfully. Your taste buds will thank you!

Benefits of Making Hummus in a Blender
Blending up homemade hummus offers multiple advantages over buying premade versions. From substantial health perks to serious cost savings, making your own hummus is smart. With a little planning, you can whip up batch after batch of this protein-packed snack or dip full of nutrition and flavor.
Hummus made at home puts you in control of the quality of ingredients. Store-bought varieties often contain preservatives, flavorings, and oils that don’t compare to hummus made fresh in your blender. Read on to learn why taking the blender approach pays off through boosted nutrition, ingredient quality, and cost savings.
Health Benefits of Homemade Blender Hummus
Higher fiber content
- Chickpeas offer substantial dietary fiber for digestion.
More Protein
- Chickpeas provide plant-based protein to fill you up.
No preservatives
- Avoid the chemicals and preservatives in packaged hummus.
Fresh flavor
- Homemade has a more vibrant, fuller taste.
Control ingredients
- Use the healthiest oils, seasonings, and extras.
Minimal processing
- Skip the factory processing for fresher food.
Cost Savings of Blender-Made Hummus
For a standard tub, grocery store hummus typically costs around $4-5. Making it at home comes out to around $1-2 per batch, depending on the ingredients used. Exact savings depend on portions, but homemade generally cost 50-75% less per serving compared to store-bought.

Over time, making your own hummus can save hundreds of dollars rather than purchasing ready-made every week. Reusable ingredients like oils and seasonings further drive down the per-batch expenses.
You can make hummus for mere pennies per serving with a value-size bag of dry chickpeas. Canned chickpeas do cost a bit more than dried, but they still result in serious savings versus packaged hummus.
Beyond the dollar savings, making hummus at home provides a priceless sense of satisfaction. Knowing exactly what ingredients you’re consuming and creating a healthy snack with your hands is beneficial for your wallet and overall well-being.
In summary, homemade hummus made in a trusty blender is a win-win for your budget and your body. The small upfront investment in ingredients pays for itself many times over down the road. So get that blender spinning and start enjoying nutritious, delicious hummus for a fraction of the store-bought price.
FAQ
Is hummus made in a blender as good as hummus made by hand?
This is the crux of the issue. Purists argue mortar and pestle mixing creates superior texture and taste. But with the right techniques, a powerful blender like Vitamix or Blendtec can produce incredibly smooth, creamy hummus to rival hand mixing. The key factors are blending long enough to completely integrate the tahini and chickpeas, using enough liquid for the desired consistency, and scraping down the sides periodically. You may need to experiment to perfect your method, but a blender can absolutely achieve great hummus texture.
What type of blender works best for making hummus?
It would help if you had a high-speed blender with some serious horsepower. Models like Vitamix, Blendtec, Cleanblend, and Ninja Mega Kitchen System have the strength to puree chickpeas smoothly. Cheaper blenders may produce a grittier texture. Always use the tamper to press ingredients into the blades while blending. The blender jar shape also matters – those with square corners and a tamper hole ensure all ingredients get incorporated.
How long should you blend hummus in a blender?
Blending time varies, but expect at least 3-5 minutes total. Blend in increments, stopping to scrape down the sides each time. Keep blending until the hummus is completely smooth with no chickpea bits. Overblending won’t hurt the hummus. It is better to blend too long than not long enough for the creamiest texture.
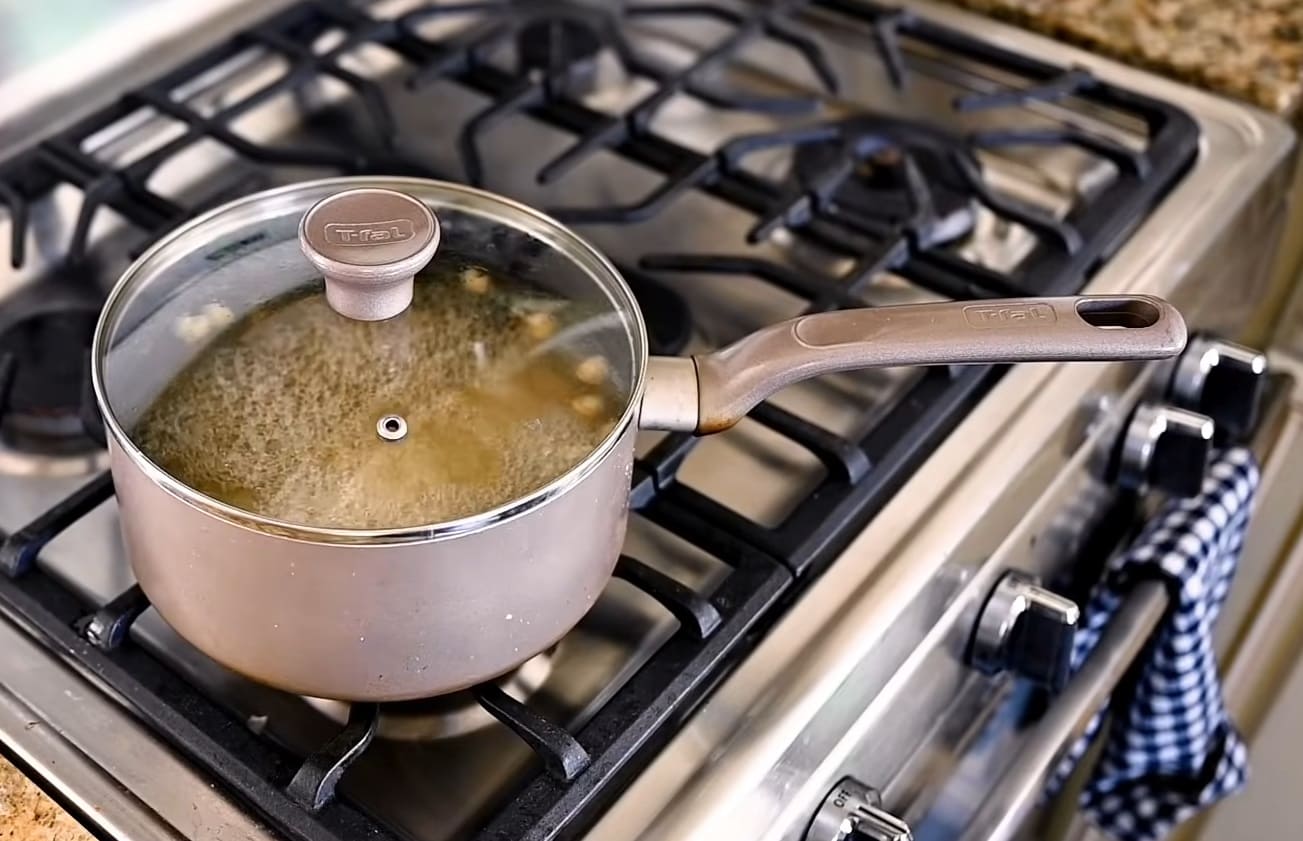
Should chickpeas be soaked before blending into hummus?
Soaking is optional but can help. Soak chickpeas for 8-12 hours to soften them up for blending. Drain, then blend soaked beans with fresh water or reserve bean liquid. The soaking water has starch and flavor for creamier hummus. But you can make great hummus with unsoaked beans, too. Just blend a little longer.
Can you use canned chickpeas to make hummus in a blender?
Yes, canned chickpeas work fine. Drain and rinse them first to remove excess liquid and sodium. The chickpeas should measure about 3 cups pre-blending. Canned beans already have a soft texture, so they are pureed easily into smooth hummus. But soak them first if you have time.
Is olive oil necessary for making blender hummus?
Olive oil is highly recommended for flavor and creaminess. Use a good extra virgin olive oil. The oil emulsifies into the hummus for a luscious, mouth-coating texture. Hummus made without olive oil tends to be thick and dry. Start with 3-4 tablespoons of oil, adding more to taste during blending.
What is the ideal consistency for blender-made hummus?
Hummus should be smoothly pureed but still thick enough to mound on a plate. Depending on personal preference, the texture can range from thick peanut butter to lightly fluffy. Use olive oil and liquid to adjust the consistency. Hummus should be firmer than brick-and-mortar paste and less loose than thick salad dressing. Find your favorite texture between those extremes.
How can I fix hummus that is too thick and dry after blending?
No problem, blend in more liquid – a teaspoon or two of water or lemon juice at a time until it reaches the right consistency. Olive oil also helps loosen up dry hummus. Or drizzle in cold water while blending to thin it out. Too-dry hummus needs more moisture blended in.
What if my hummus needs to be more thick and runny after blending?
Runny hummus likely has excess liquid. Drain off any puddles of liquid from the top. Then stir in 2-3 tablespoons of chickpeas or tahini to thicken it up to the right texture. Adding more chickpeas gives it more body, so it mounds nicely again.
Does hummus keep well after being made in a blender?
Yes, blended hummus stores safely for 4-5 days refrigerated. The pureed texture prevents spoilage. Smooth hummus made in a blender or food processor is better than chunky hand-mixed. Just be sure to refrigerate within an hour of blending. The optimal storage container is an airtight glass or plastic one.
Related Video: How to Make Hummus in a Blender
Final Words
When making hummus, using a blender produces results on par with traditional hand mixing—with less effort. High-powered blenders can create the ideal smooth, creamy texture and thoroughly incorporate the ingredients. While blenders introduce more air than mortar and pestle mixing, this difference is negligible. The key is blending the chickpeas and tahini sufficiently; scrape down the sides as needed. With quality ingredients, efficient blending, and optimal storage, blender-made hummus can be rich, flavorful, and smooth. So don’t be afraid to break out your blender for homemade hummus. It may take some trial and error to perfect your technique, but you can certainly replicate delicious hummus without the labor of hand mixing.